
Welcome to part 2 of Japanese Calligraphy 101! In this post, you'll learn how to make the ink used in shodo.
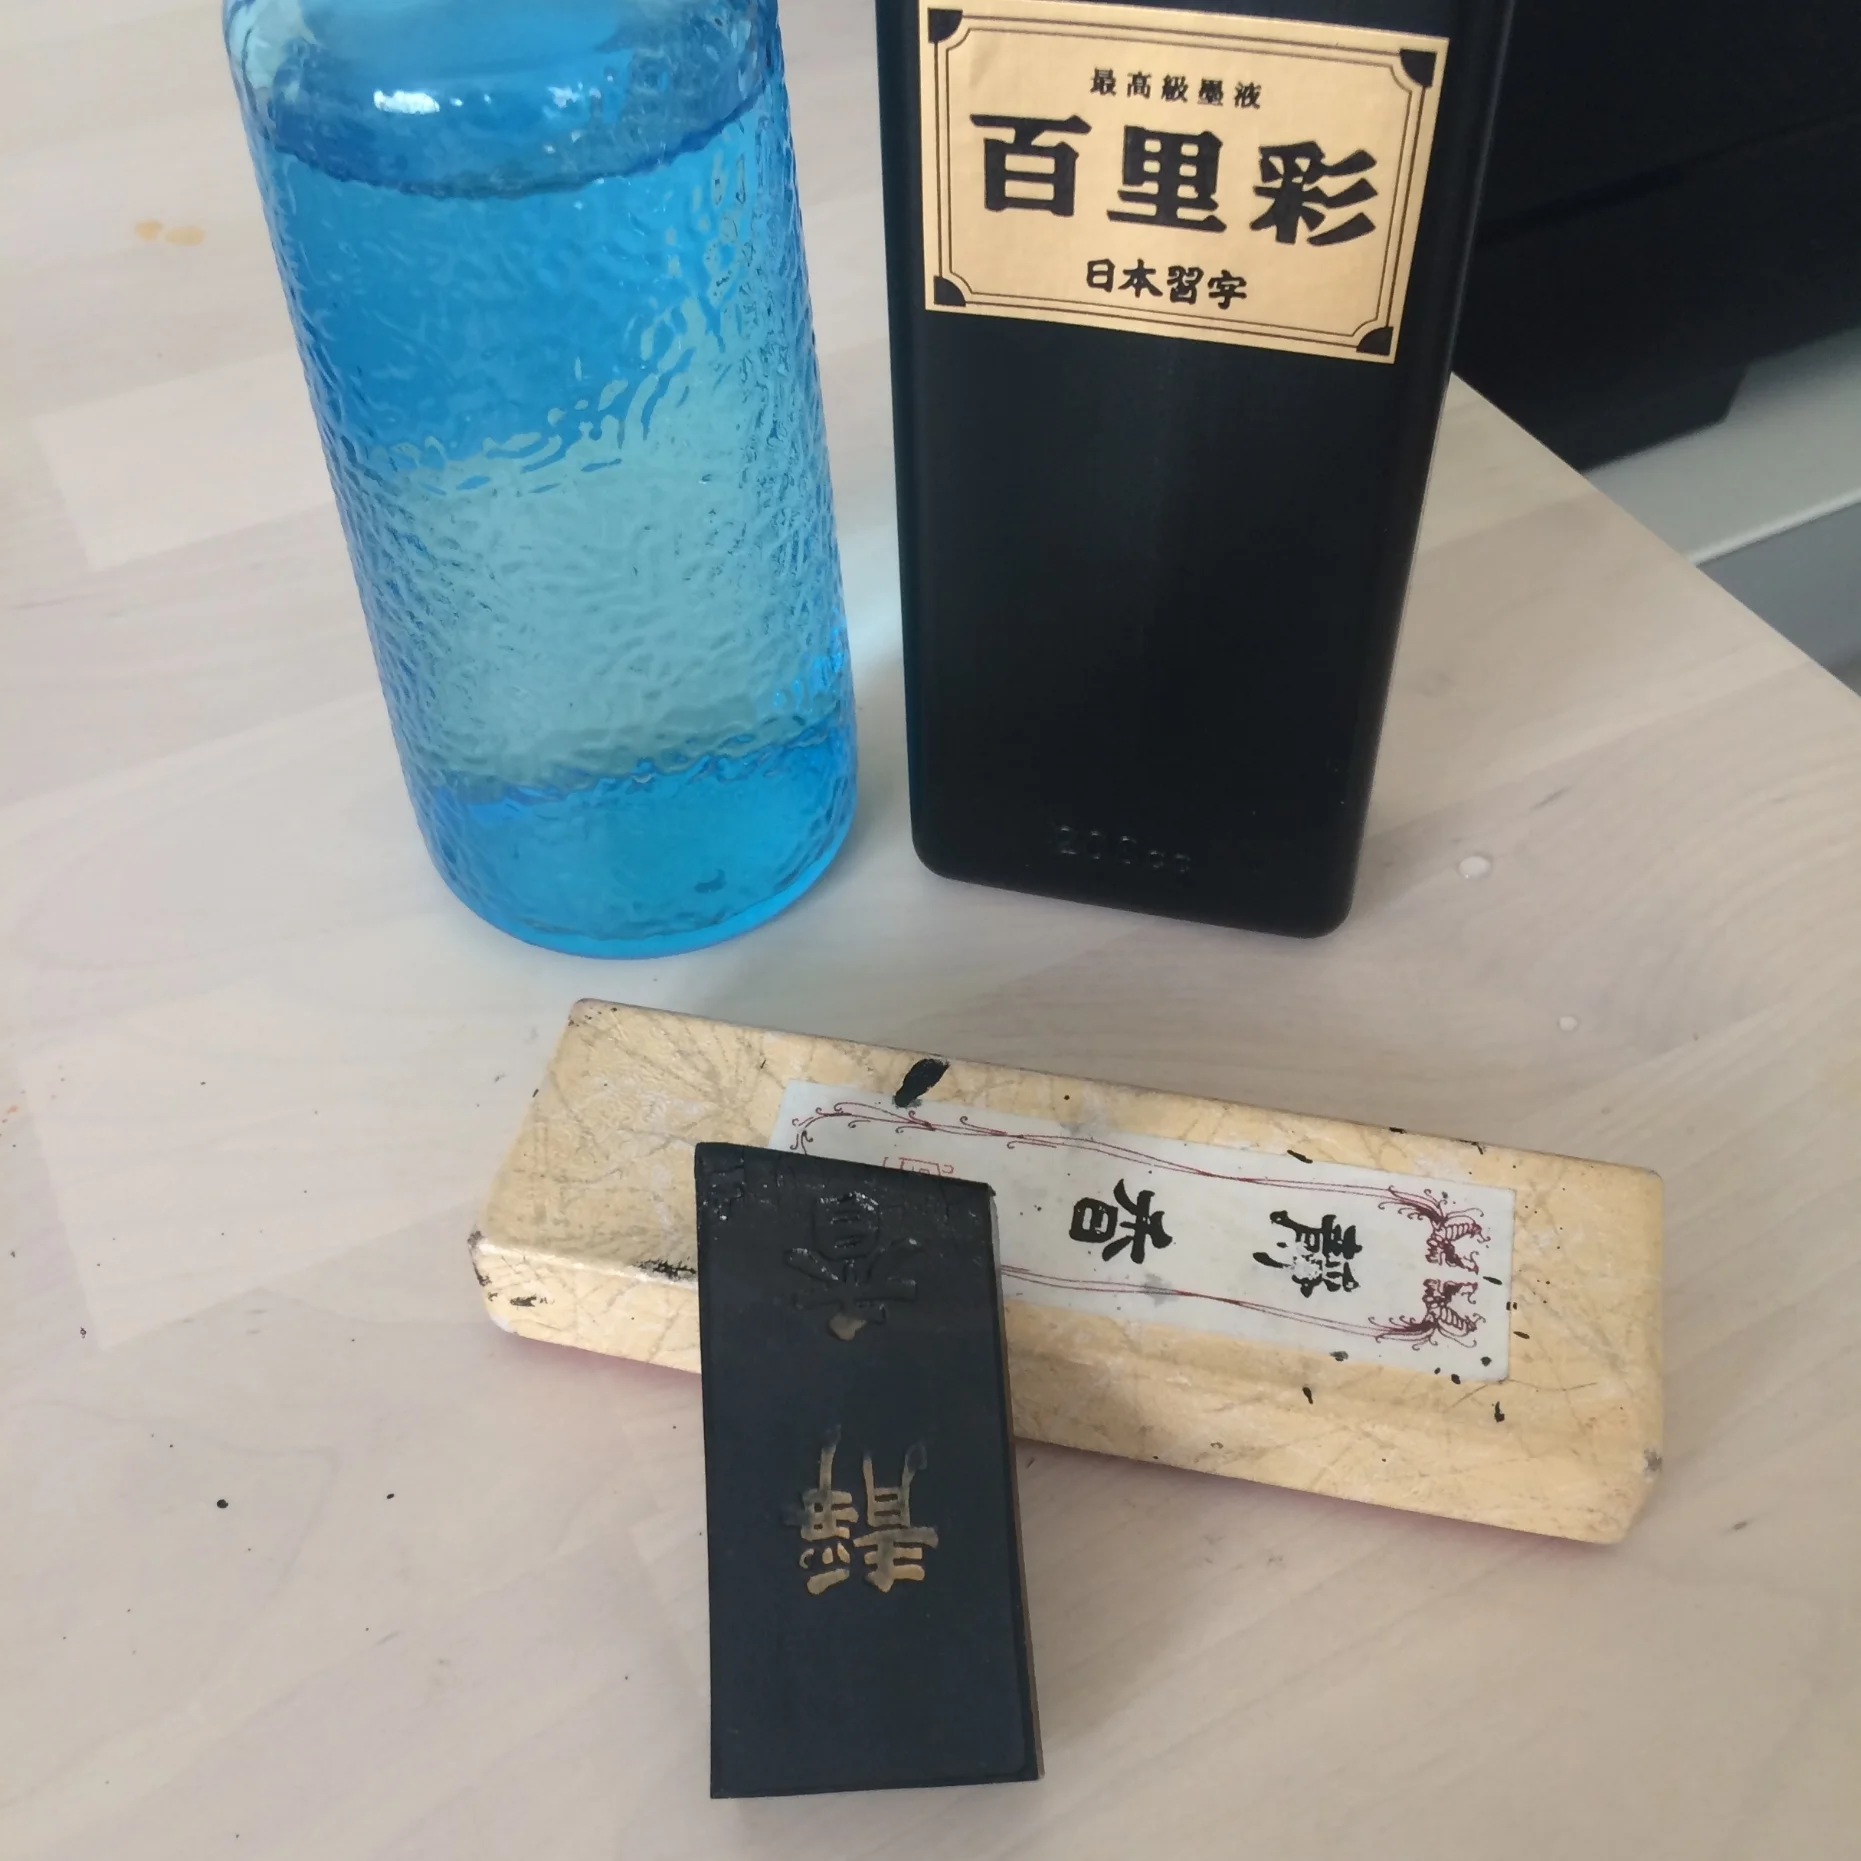
1. I start with water, bottled ink, and an ink stick.
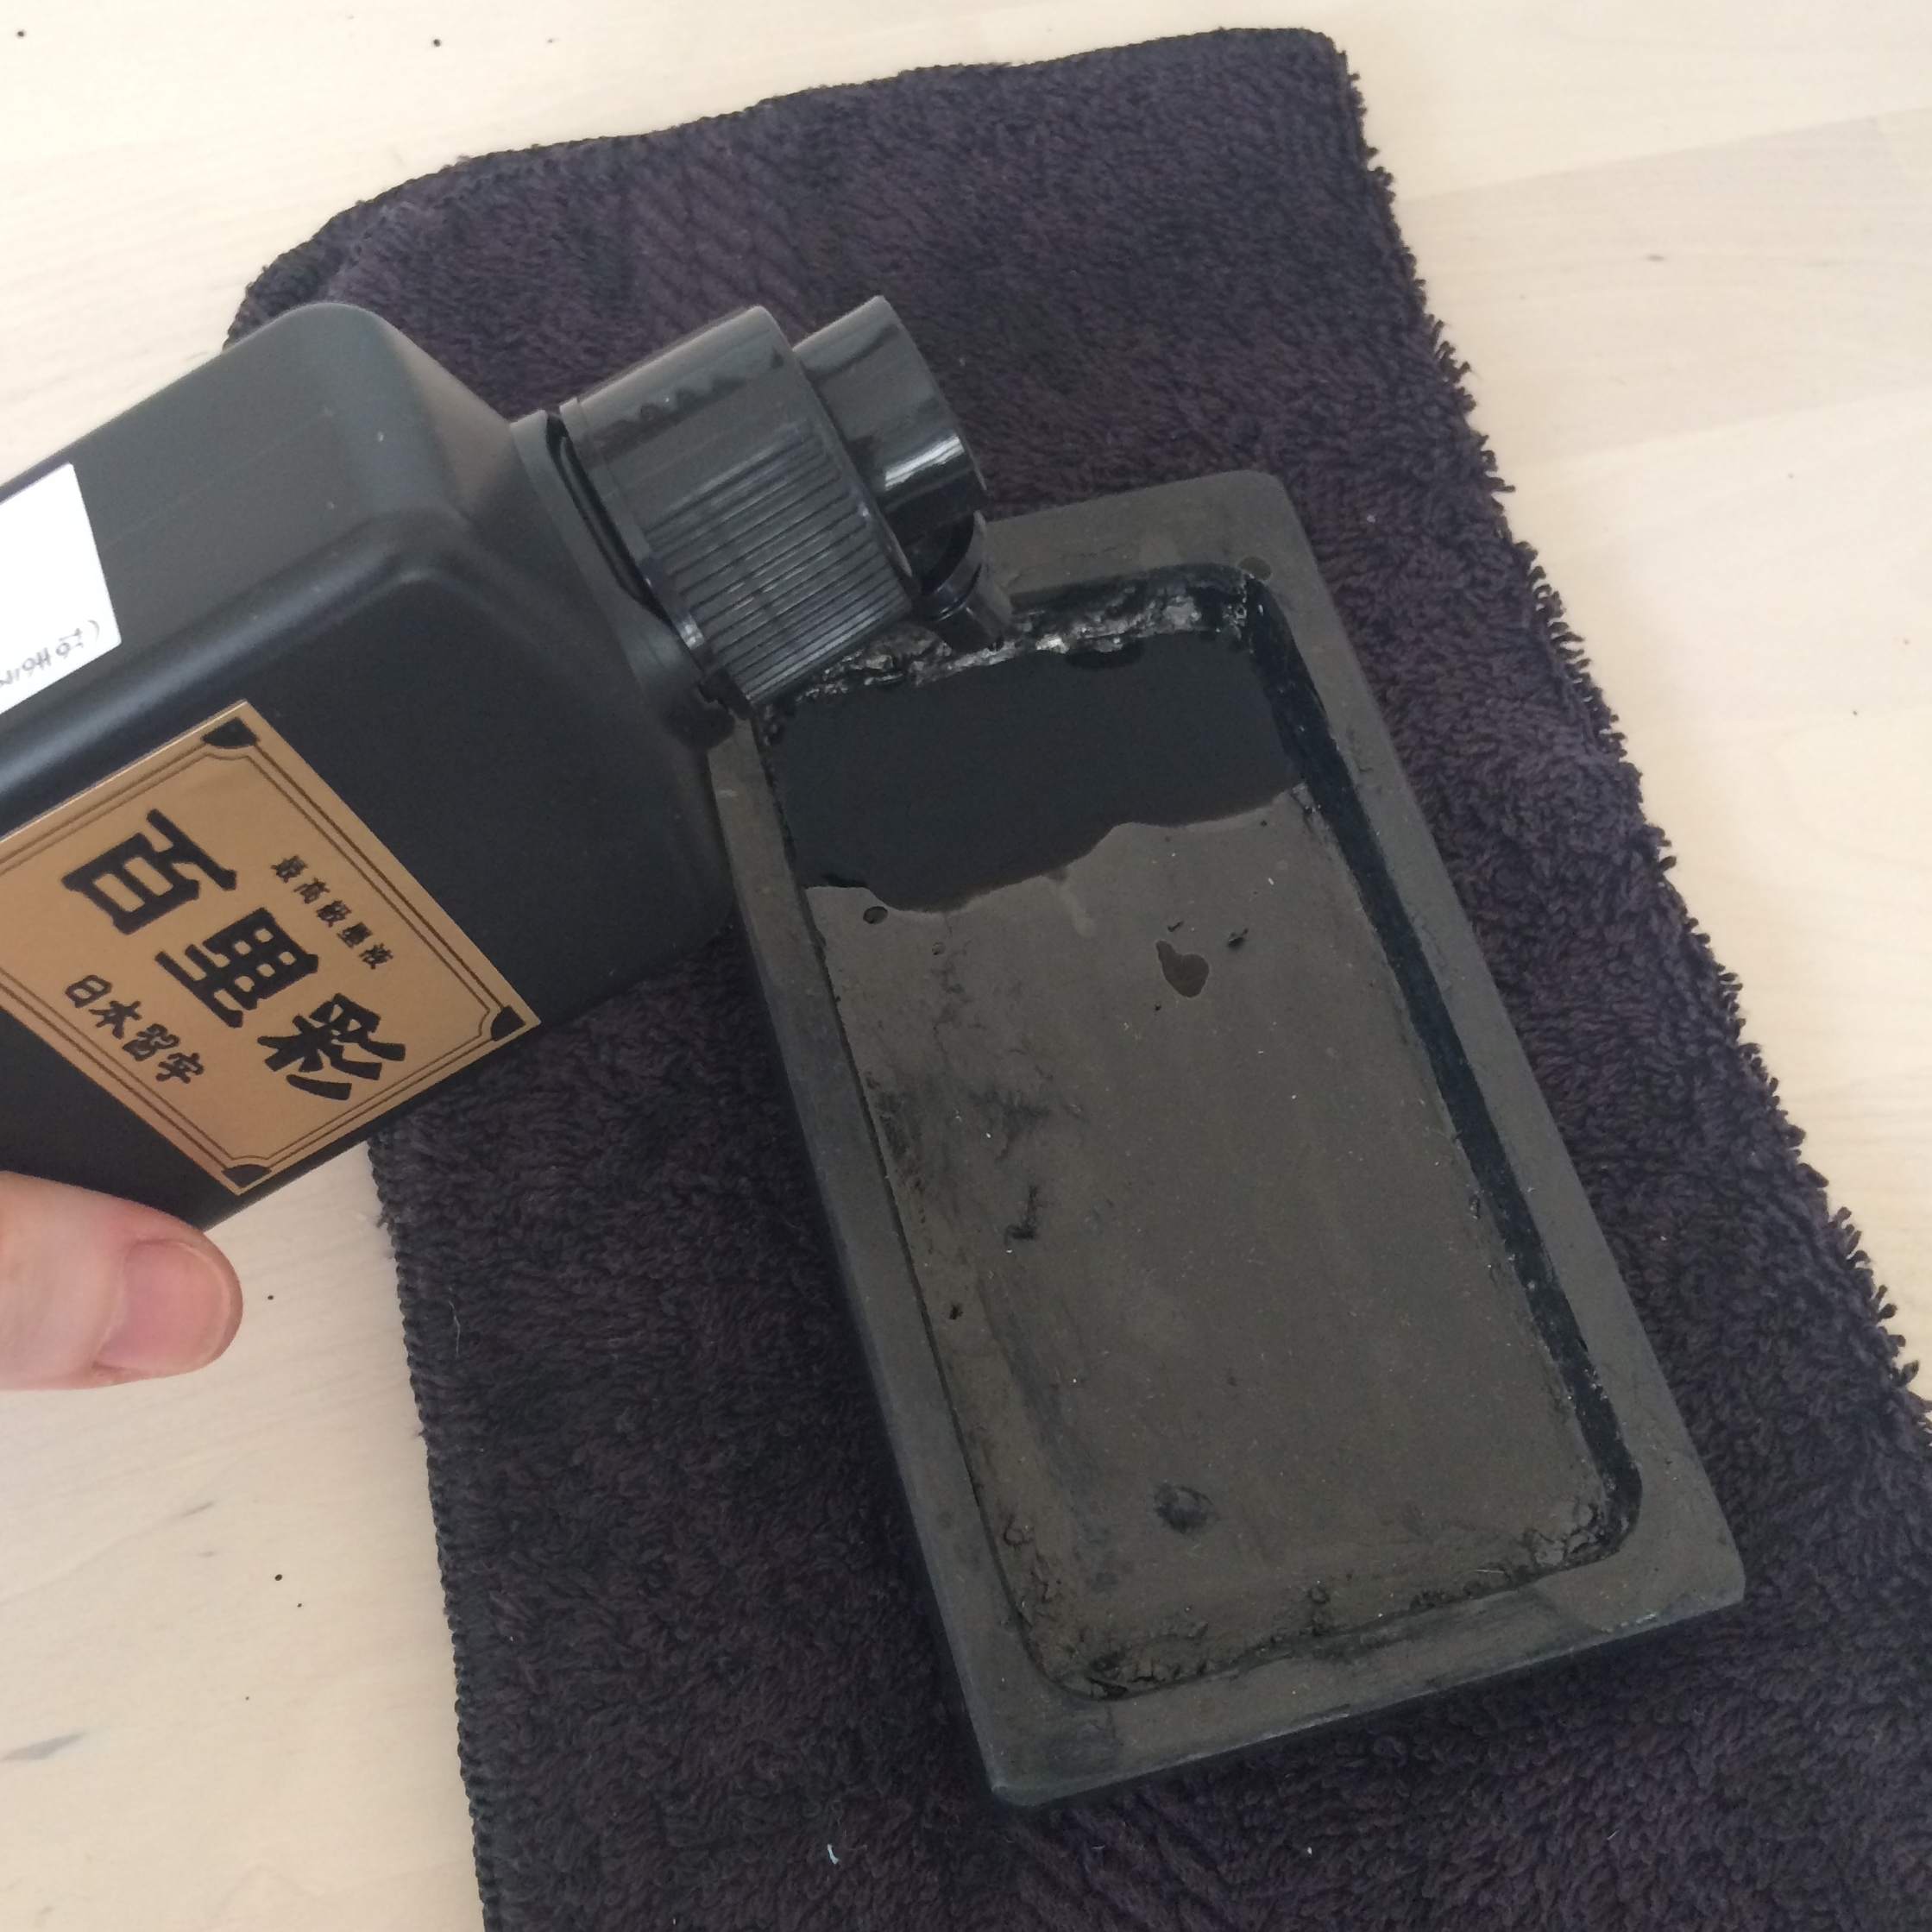
2. The bottled ink is similar to India ink - highly pigmented, and slightly thick.

3. Adding a small amount of water to the bottled ink thins it out and improves flow. Too much water causes the ink to bleed on the paper, making clean, sharp-edged linework impossible.

4. Ink sticks are made primarily of charcoal and glue. Some people leave out bottled ink and use only ink stick and water to make ink - a slow process, but one which can be very meditative. I find the bottled ink gives a deeper black, but that grinding ink with the ink stick is good mental preparation before writing. It can also change the ink's consistency - thickening it and decreasing bleed.
Each calligrapher will have their own preferred methods of making ink, and different projects may call for different ink composition. As you practice, you will want to experiment with the ink-mix that works best for you. There are also plenty of fun specialty inks in colors, metallics, and so on.
Looking to try your hand at Japanese Calligraphy? Come to this weekend's Japanese Calligraphy Happy Hour! Saturday, July 14, 5-7, at Brooklyn Collective. $65 includes sake, tea, snacks, and materials. Seats are limited - email bklyncollective@hotmail.com to reserve yours!