
This series of Japanese Calligraphy 101 blog posts are going to cover all of the basics of studying shodo by breaking down a sample lesson. Part 1 - Equipment and Set-Up.


1. In the center, you'll have a felt mat called a shitajiki. This protects your work surface, and also has some grid lines on it to help you write evenly and with good spacing and alignment.
2. At the top of the shitajiki is a paperweight, called a bunchin, essential for keeping lightweight paper from moving while you write.
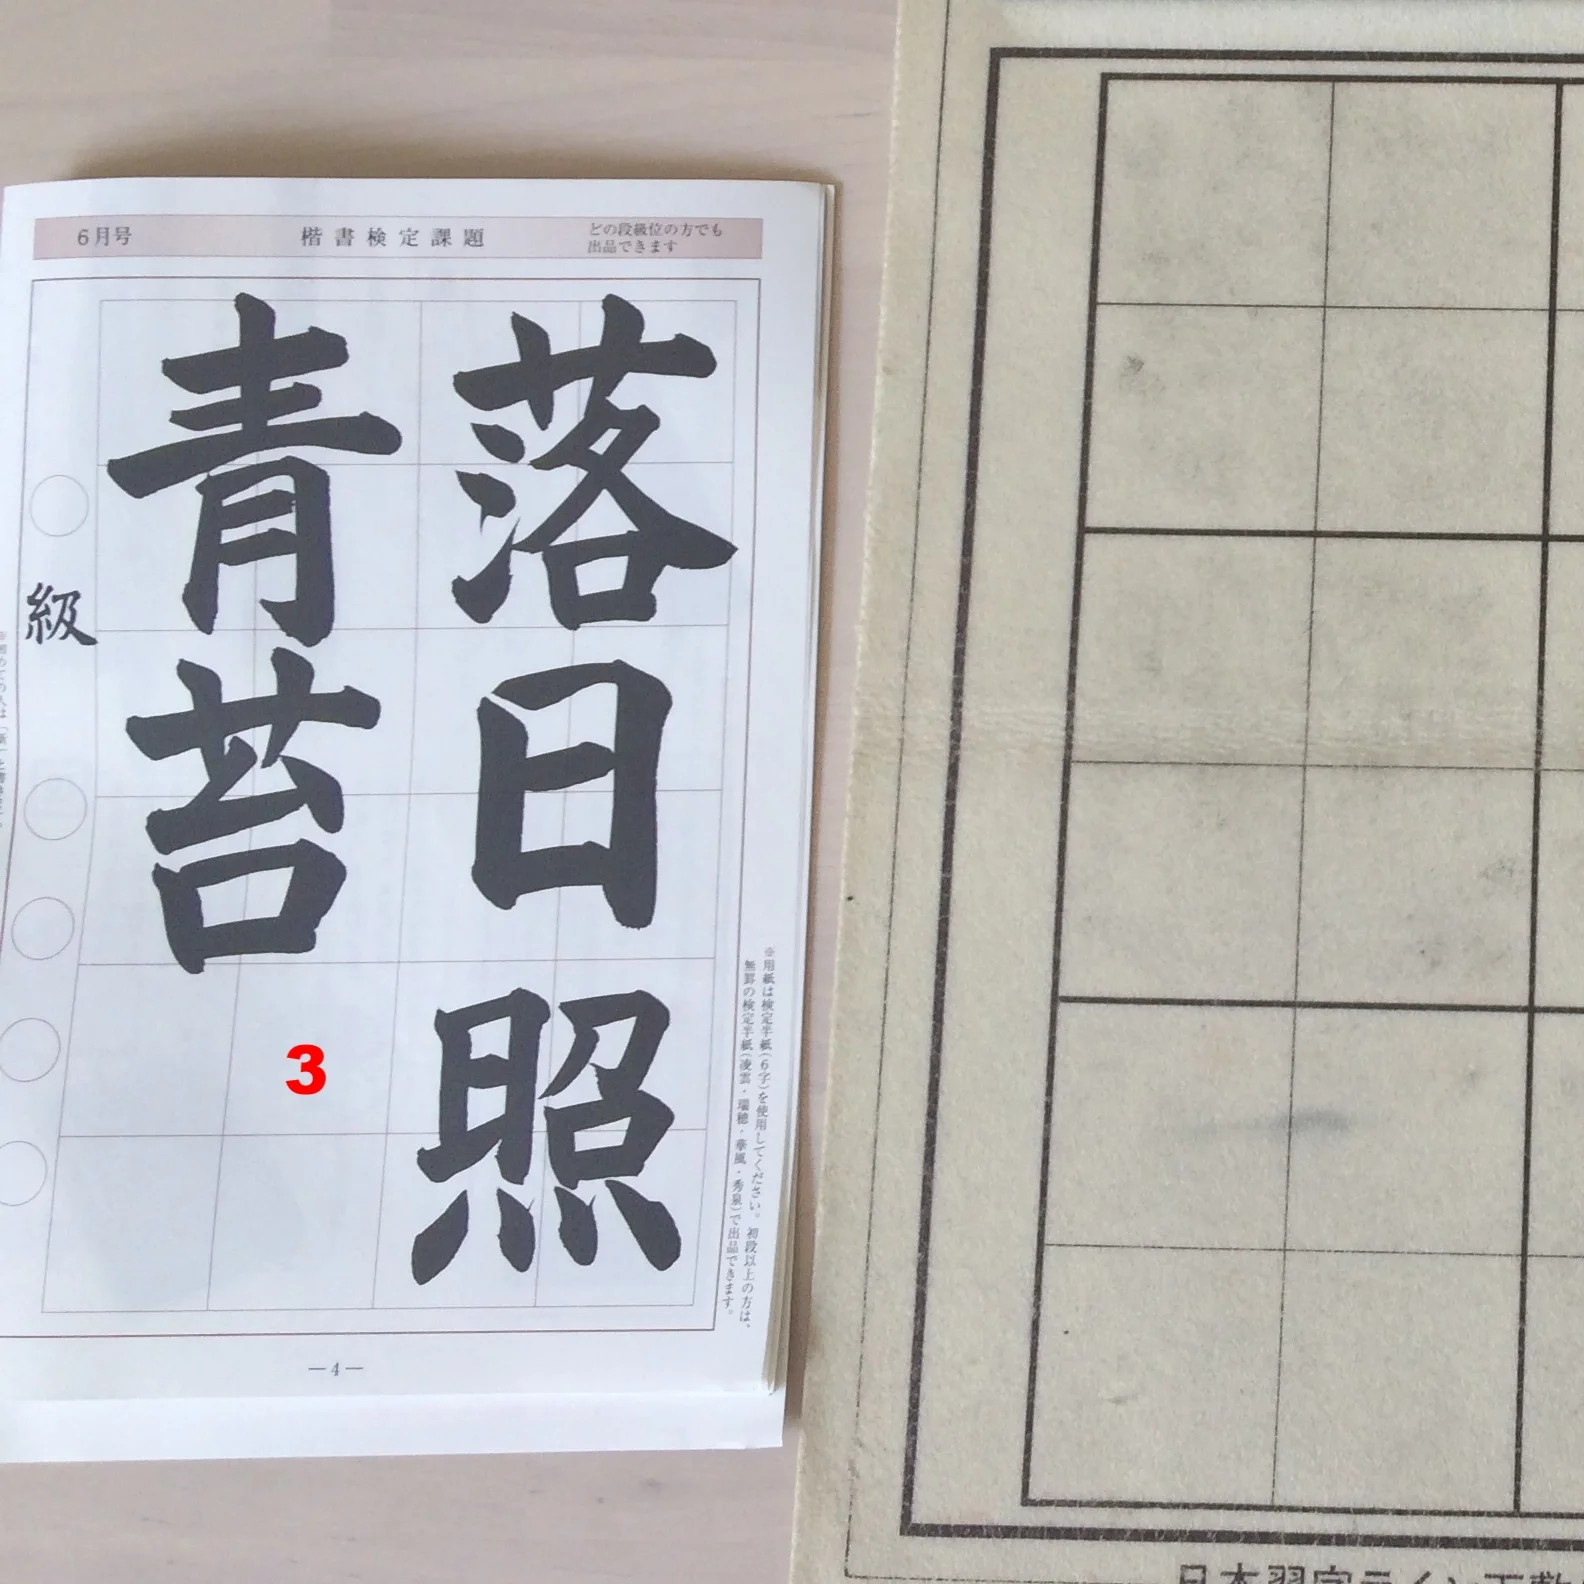
3. On the left is the piece you're copying from. We copy the work of various masters to develop basic calligraphy skills, before attempting our own compositions. The organization that I'm a member of, Nihon Shuji, sends monthly workbooks to its members. There are also books of calligraphy, from ancient to contemporary, available to buy online.

4. On the right is the ink stone, or suzuri. This is where you'll mix the ink used for writing. Suzuri can be made of many different kinds of material, as long as they have a well to hold ink, and flat surface for grinding ink.

5. Next to the suzuri is your brush, or fude, and brush holder. Brushes come in a huge variety of sizes, shapes, and materials, but your instructor will steer you toward the right brush to start out. As you become more skilled, you may prefer brushes that are softer or springier, or use different brushes for different kinds of projects.
With that, the workspace is prepared and you're ready to begin the lesson!
Next post, I'll talk about how to mix ink and what a calligraphy warm-up looks like.
Curious about Japanese Calligraphy? Come to Japanese Calligraphy Happy Hour, Saturday July 14th, 5-7pm at Brooklyn Collective! Check out our previous blog post for more details, and email Brooklyn Collective at BklynCollection@hotmail.com to reserve your spot.